To make these I started with a new product I read about called Apoxie Sculpt. It’s a 2 part epoxy used for sculpting and making prototypes. You mix part A and B in equal measure and begin sculpting. It sets within 24 hours but you can scuplt it for several hours, so super easy to use. Once set it can be sanded, then painted etc.

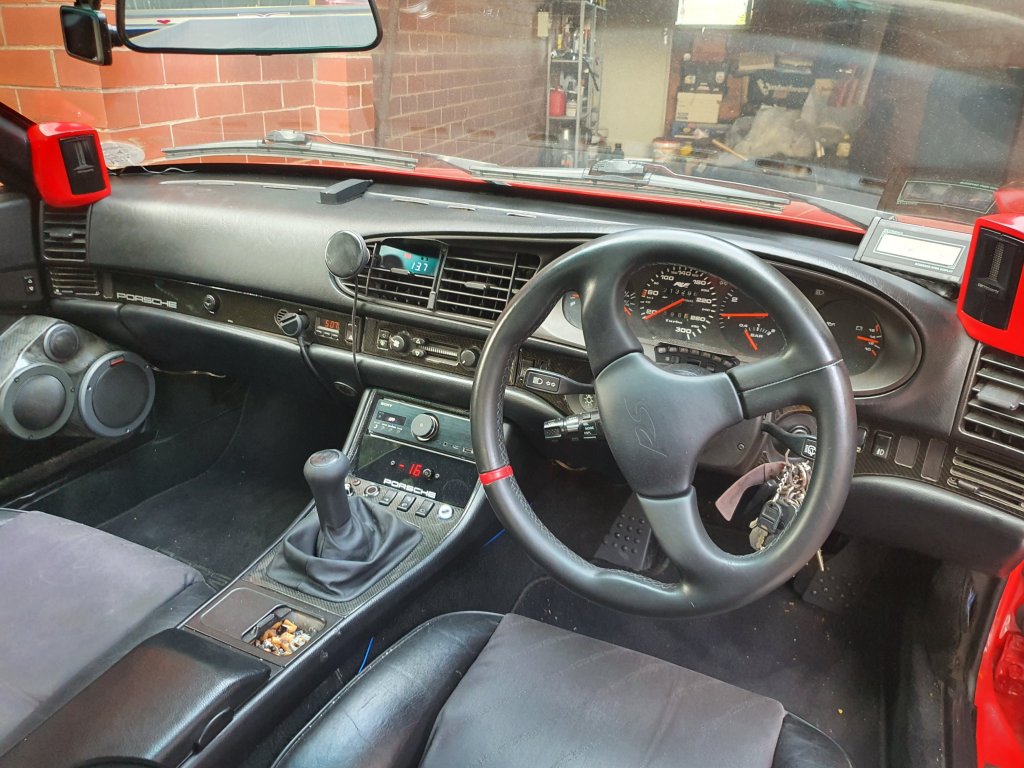
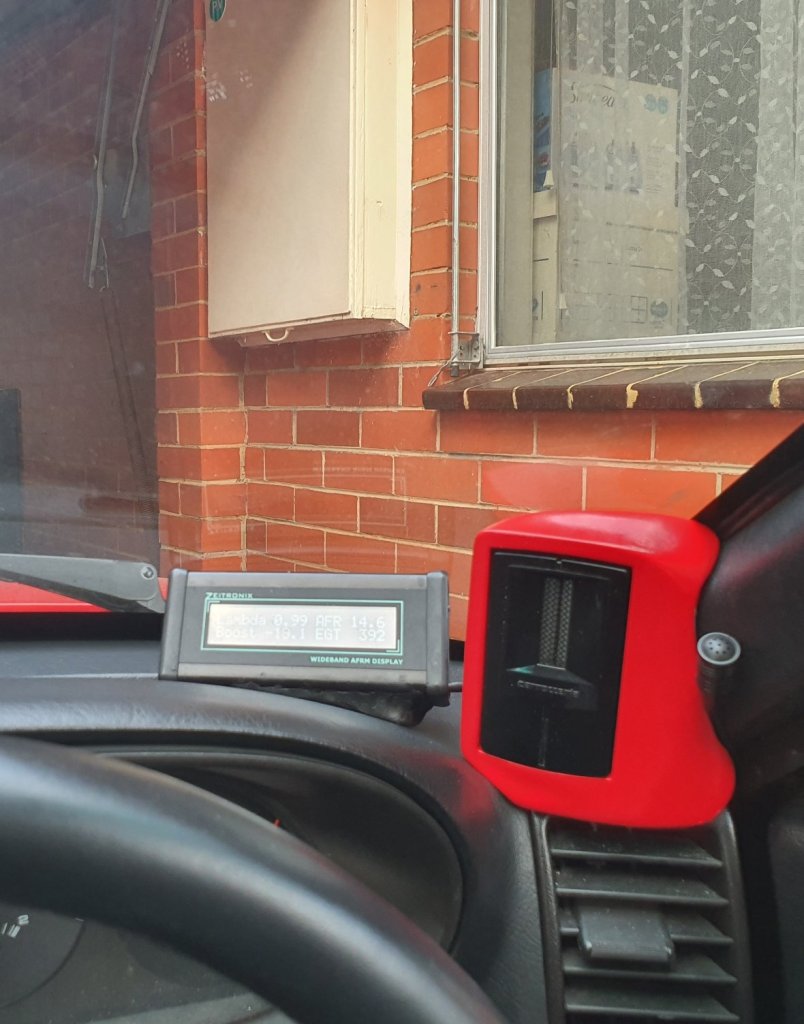
The Pioneer Carrozzeria ribbon supertweeters TS-ST910 are only sold in Japan, so we’re sourced via eBay and replaced the much cheaper Sony set I was using. As my system is Hi-res, these supertweeters play from 18kHz up to 100kHz. Now most humans over 15 years of age are lucky to hear above about 16kHz so most would think these would be pointless but music is harmonic in nature and since the 70s and 80s we have known that reproduction of frequencies above our hearing range effect the timbre and tonality of the notes we do hear. If you hear a violin live these harmonics are produced but a recording limited to our hearing range would cut off these harmonics. Harmonics are sounds in higher octaves that resonate with the primary note being played. Yamaha introduced a CD player very early in CDs life that went up to 30kHz even though CDs were limited to 20kHz based on this knowledge of harmonics. Brands like Rotel also made amps that went up to 50kHz in the 90s for same reason, so although Hi-res is relatively new, the theory behind it isn’t. Many may argue it’s just marketing but all I know is my system sounds amazing and the ribbon tweeters lifted it to another level.

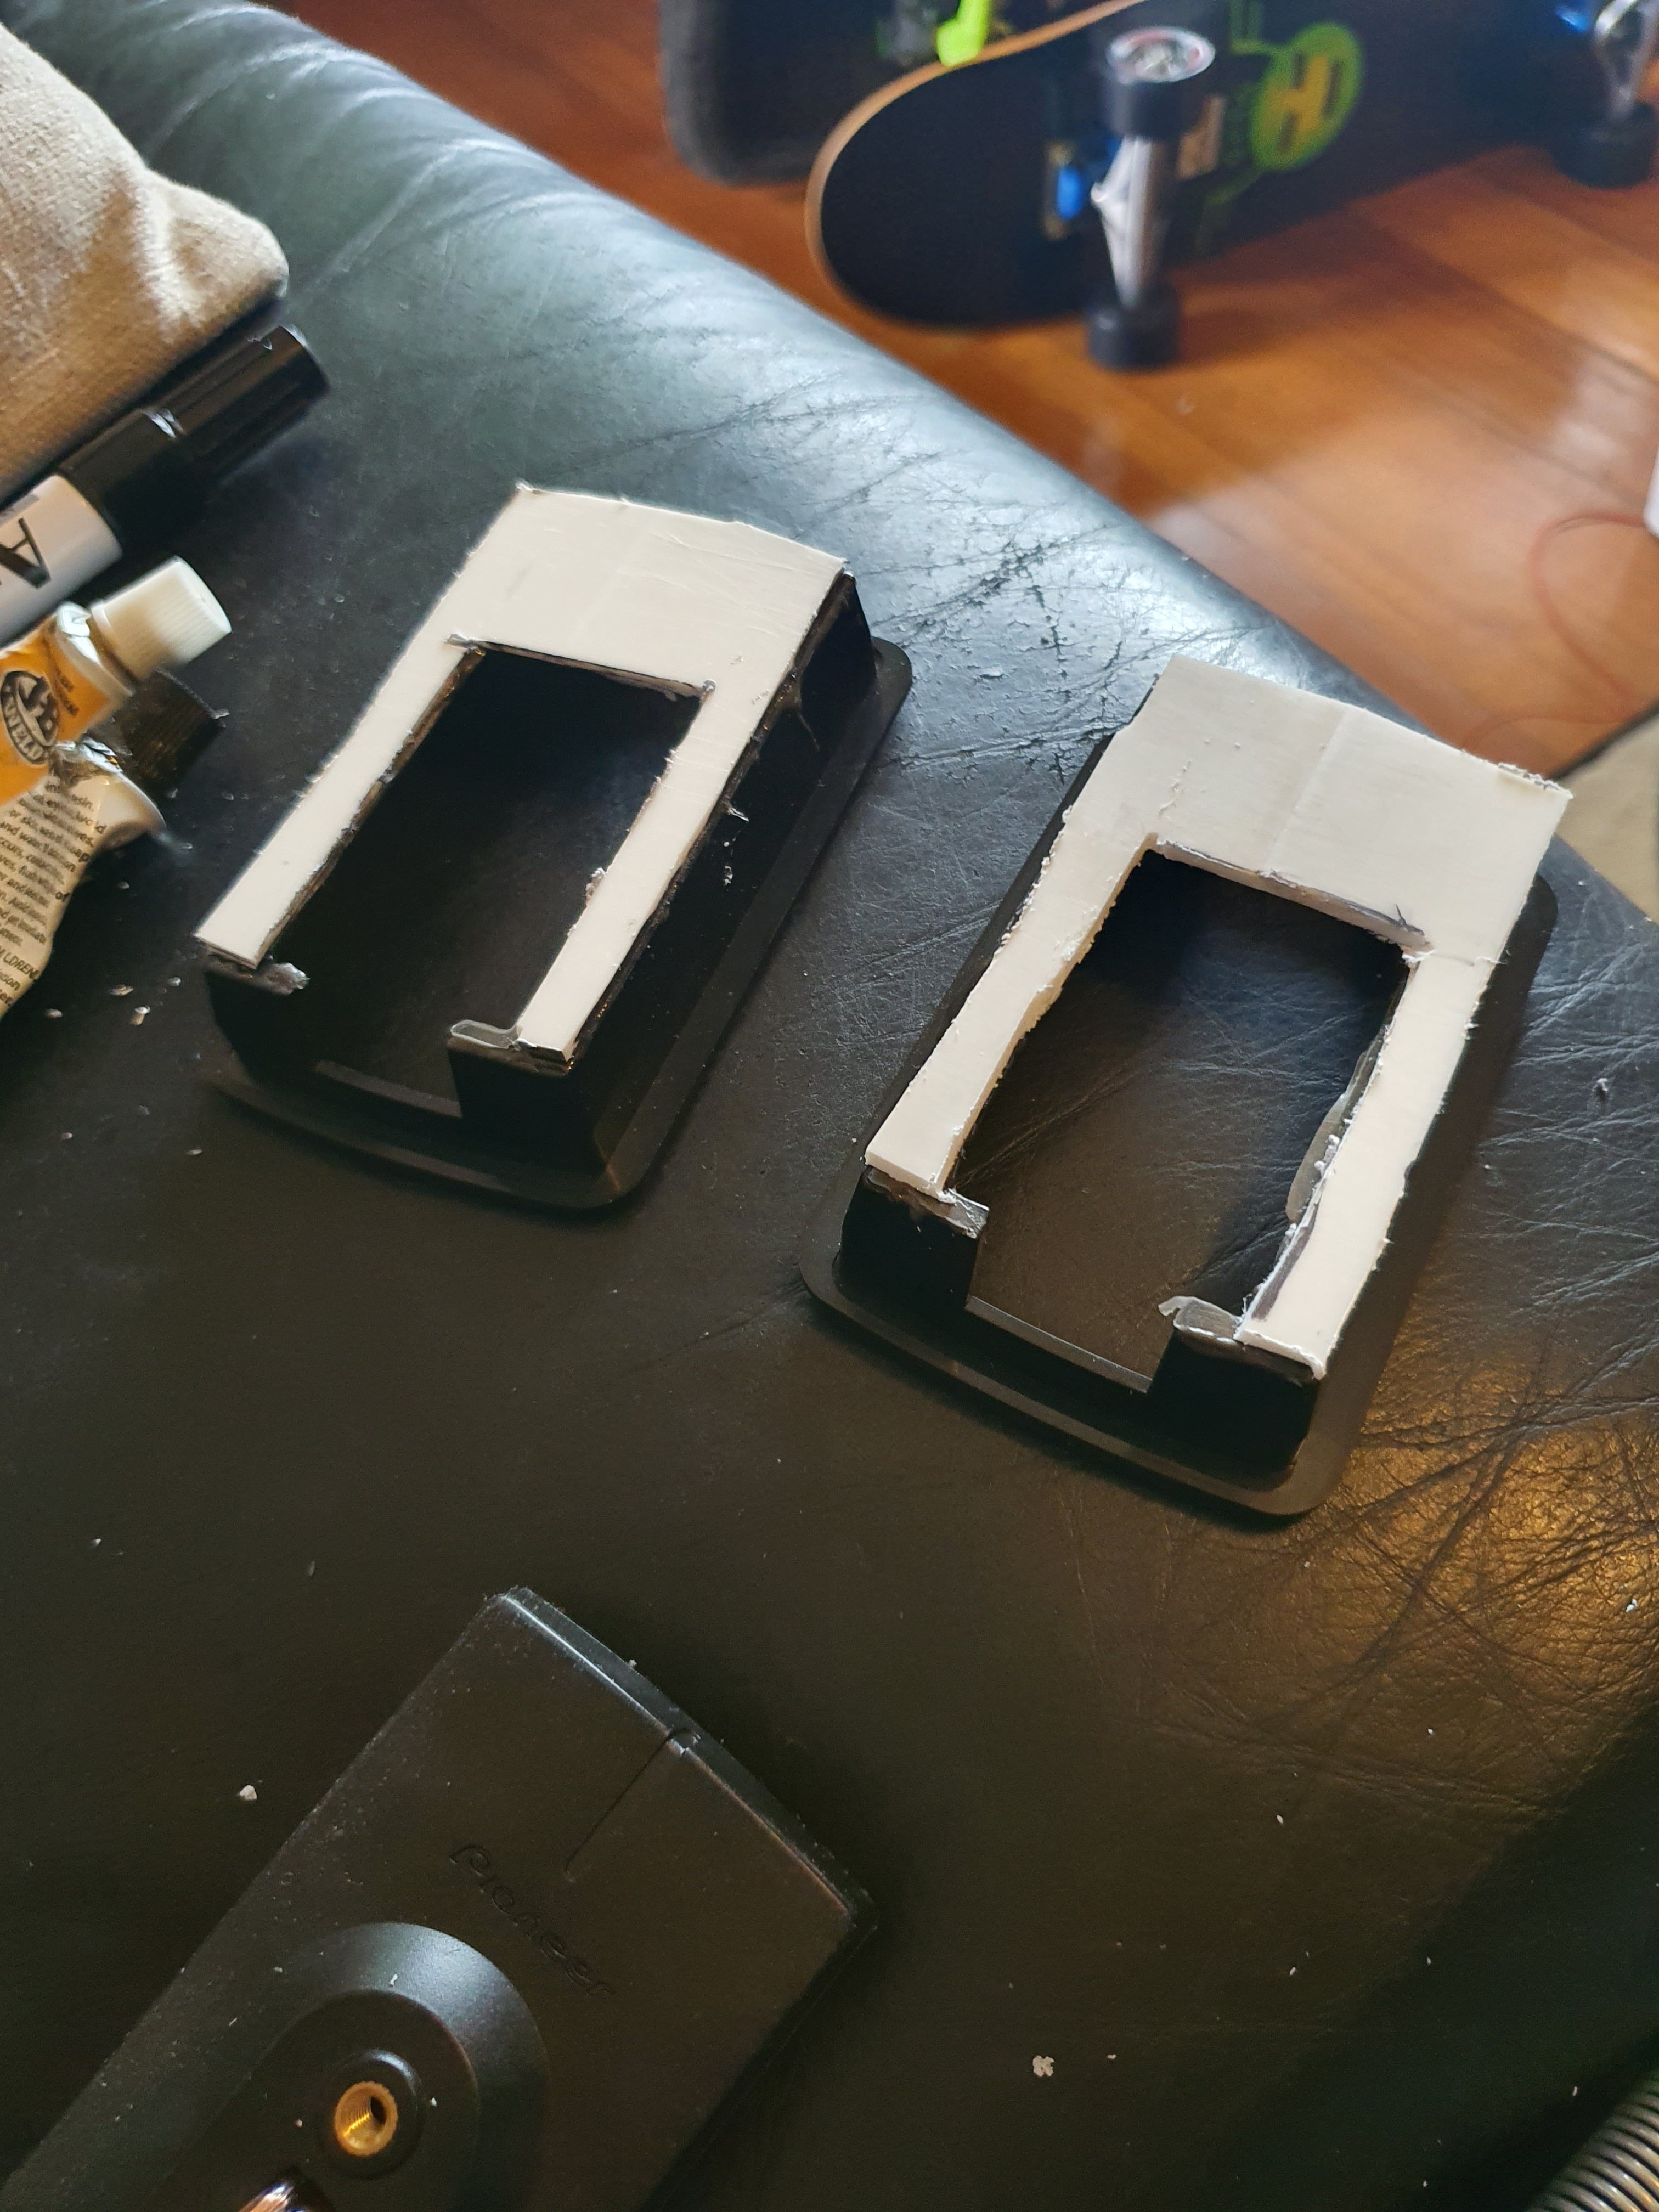
I started out by using the trims(cups) for flush mounting and added some plastic pieces to help seal off the back. The speakers are sealed so this was only to aid making the mount and not for acoustic reasons. I glued them on with some JB weld 2 part epoxy glue.

I then used the sculpting putty to seal the plastic pieces in. These bits had holes that lined up with the bolt holes in tweeters for securing the speakers into mounts.

Once I had the rear of mounts to a point I was happy with I began working on molding the mounts into position on the car.


This involved adding lots of putty and physically sculpting it in the car. I started making just one side as I find the knowledge gained makes second mount easier and any mistakes aren’t done twice, so only need to be rectified once. It also makes second one a quicker process.


Once I was happy with fitment and shape, pod was sanded smooth and shaped then sprayed in high build undercoat. This was then sanded smooth ready for top coat.

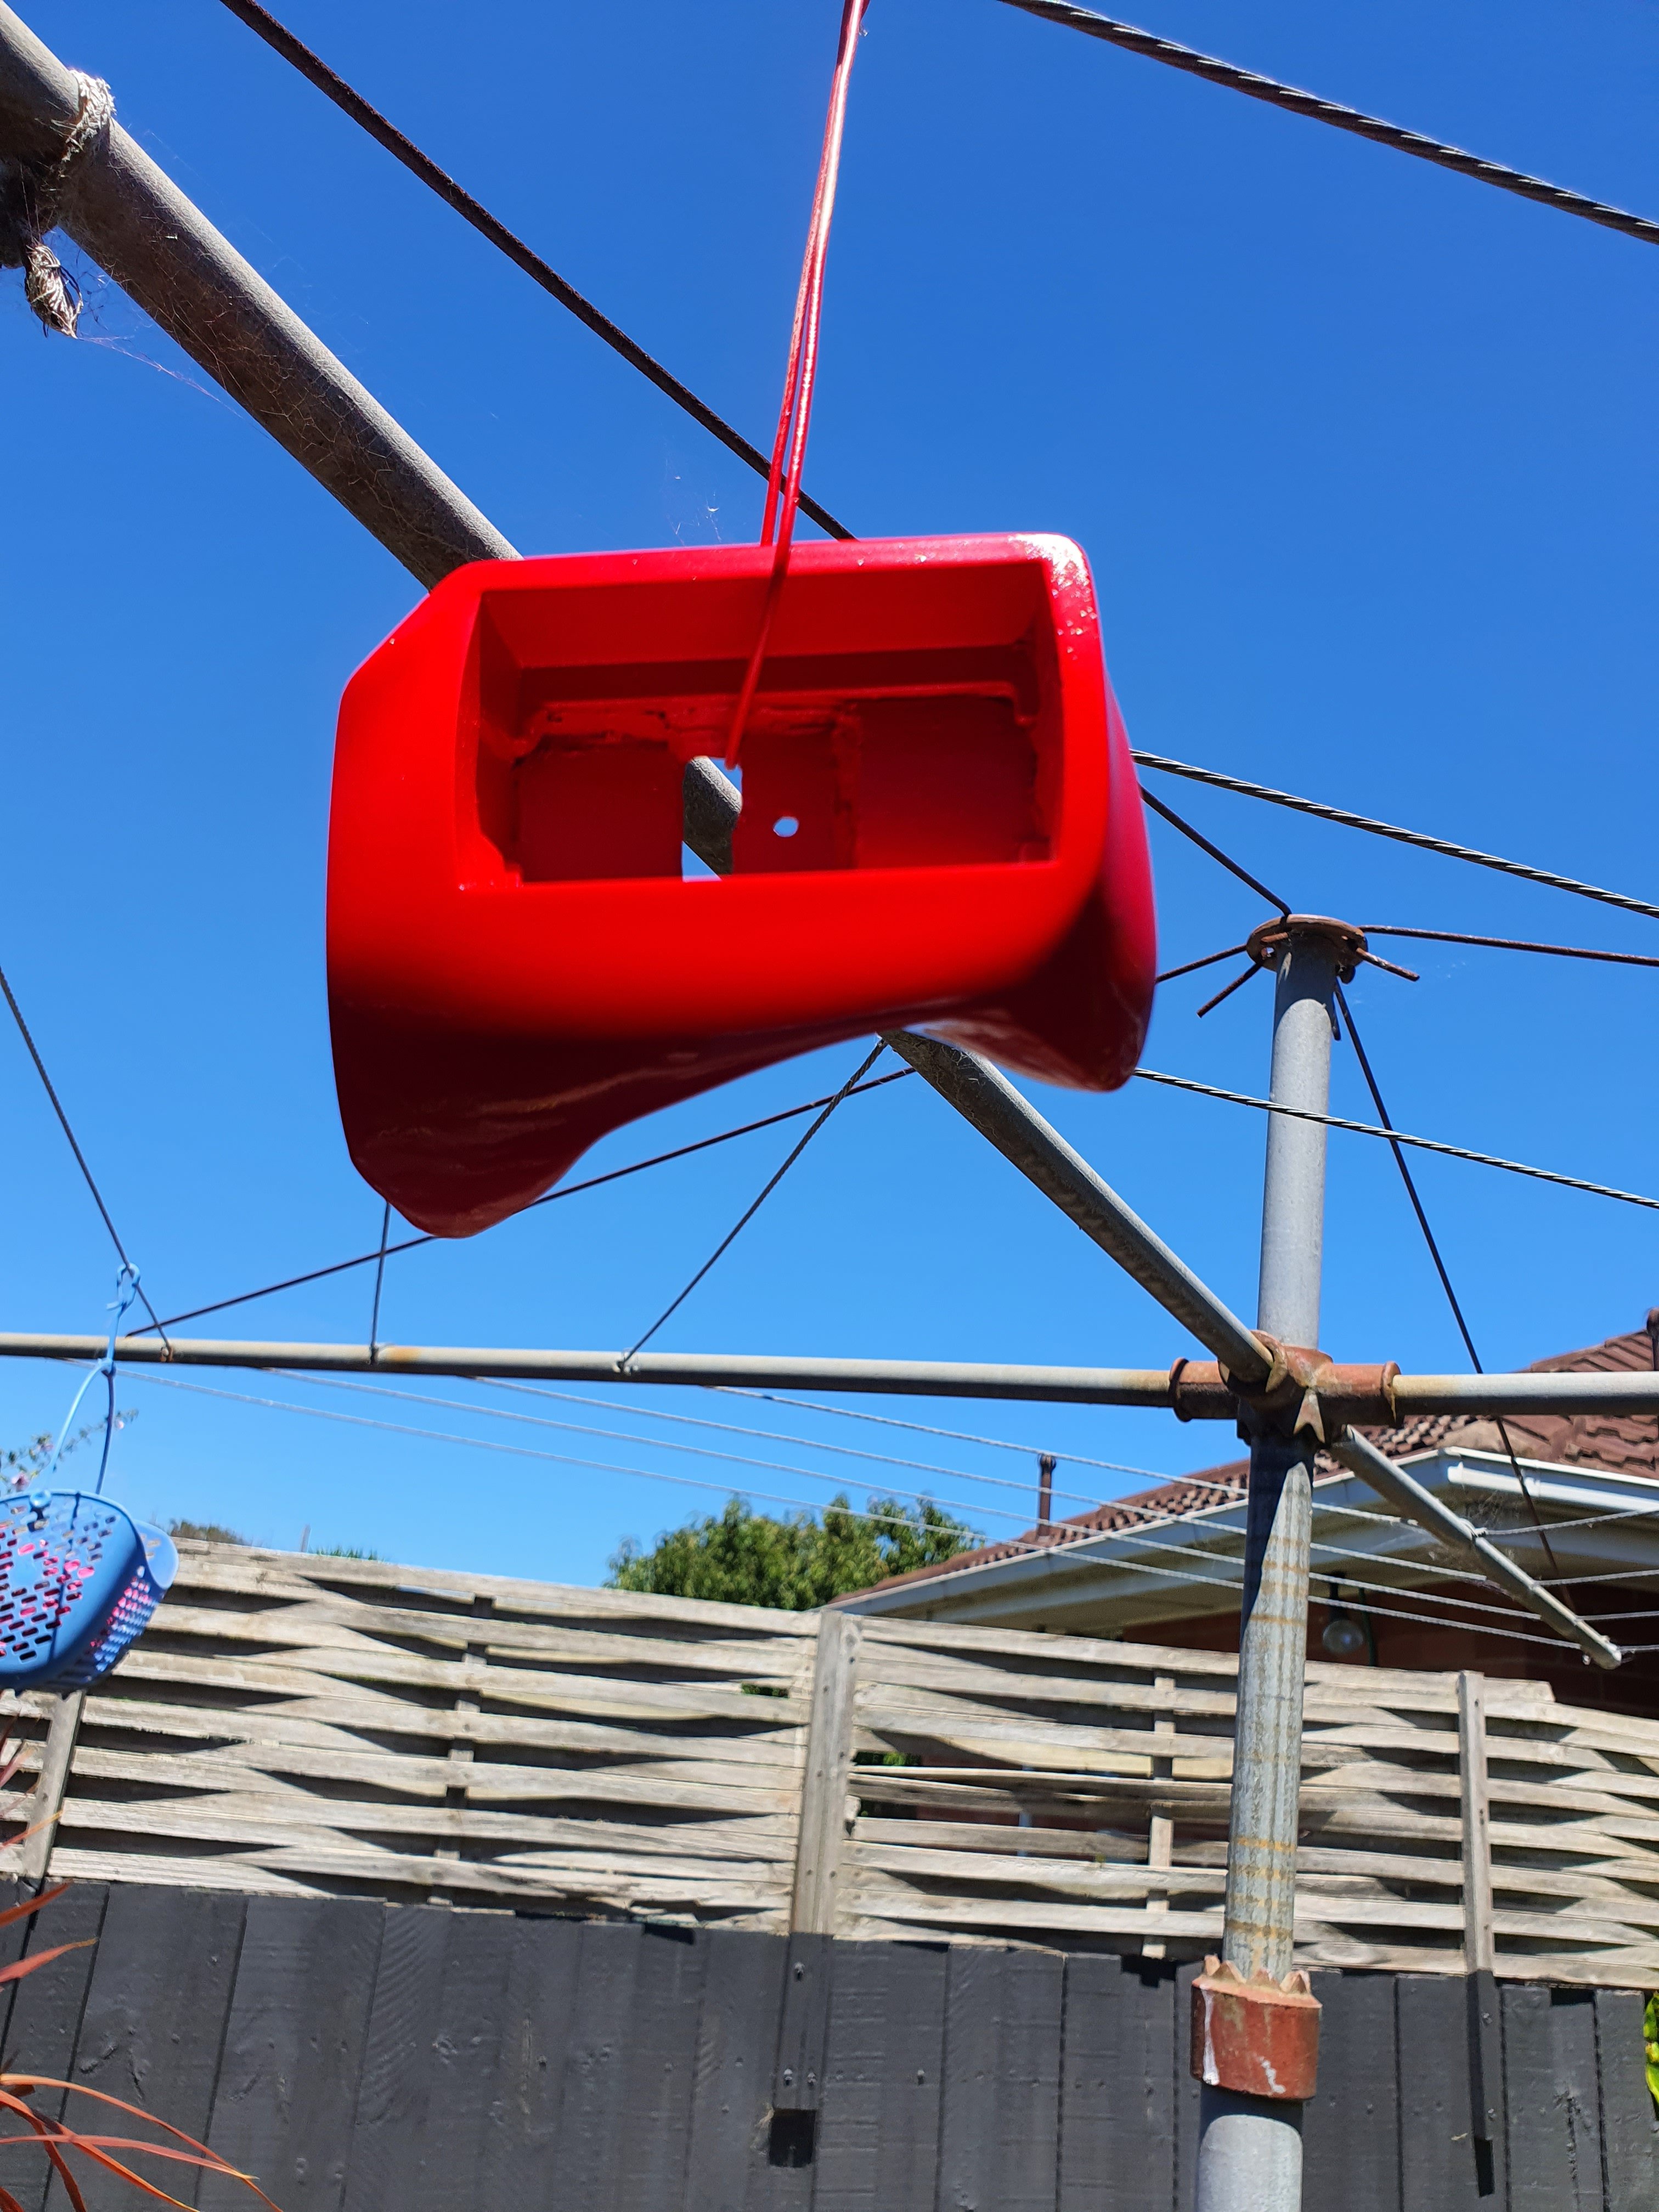
I then painted the pod in gaurds red to match the car. It’s pretty loud colour and I think I’ll respray them again in a matt black to not stand out so much, but for now I’m enjoying the splash of colour


Then it was just a matter of rinse and repeat on second pod. I wore disposable gloves while playing with sculpting putty but it really was a simple as using play doh. Really happy I discovered it, as it’s very workable and gives you a great finish when sanded and painted.